
Has anyone created a GM screen?
GM Screen
skippy
#3
A search for screens reveals some previous discussion on the matter, including a link to this great little reference sheet:
and this Quick Reference is a great handout for players, too:
You could use some combination of these mounted in a clear plastic sleeve and affix that to whatever screen you have (or make).
There are also some handy links here
I have found that I don’t often need to consult the rules much, so I don’t really need anything specific on my screen, when I use one. Lately I’ve been skipping a screen altogether, and just rolling my dice in my rolling tray. If the players want to see the results, they can (but they almost never actually care to do so).
My materials are either on an iPad or in my notebook, so I don’t have a lot of loose papers to hide from player view, either.
I did print and assemble the Ultimate GM Screen II (photo gallery) from DriveThruRPG. My players and I love how ostentatious it is, but I only use it every now and again. 
Moose
#5
I wasn’t sure if you were referring to GM screen cheat sheets or an actual physical screen but here are some shots of the screen my husband made me. He considers this the “prototype”
what the players see My side. In action.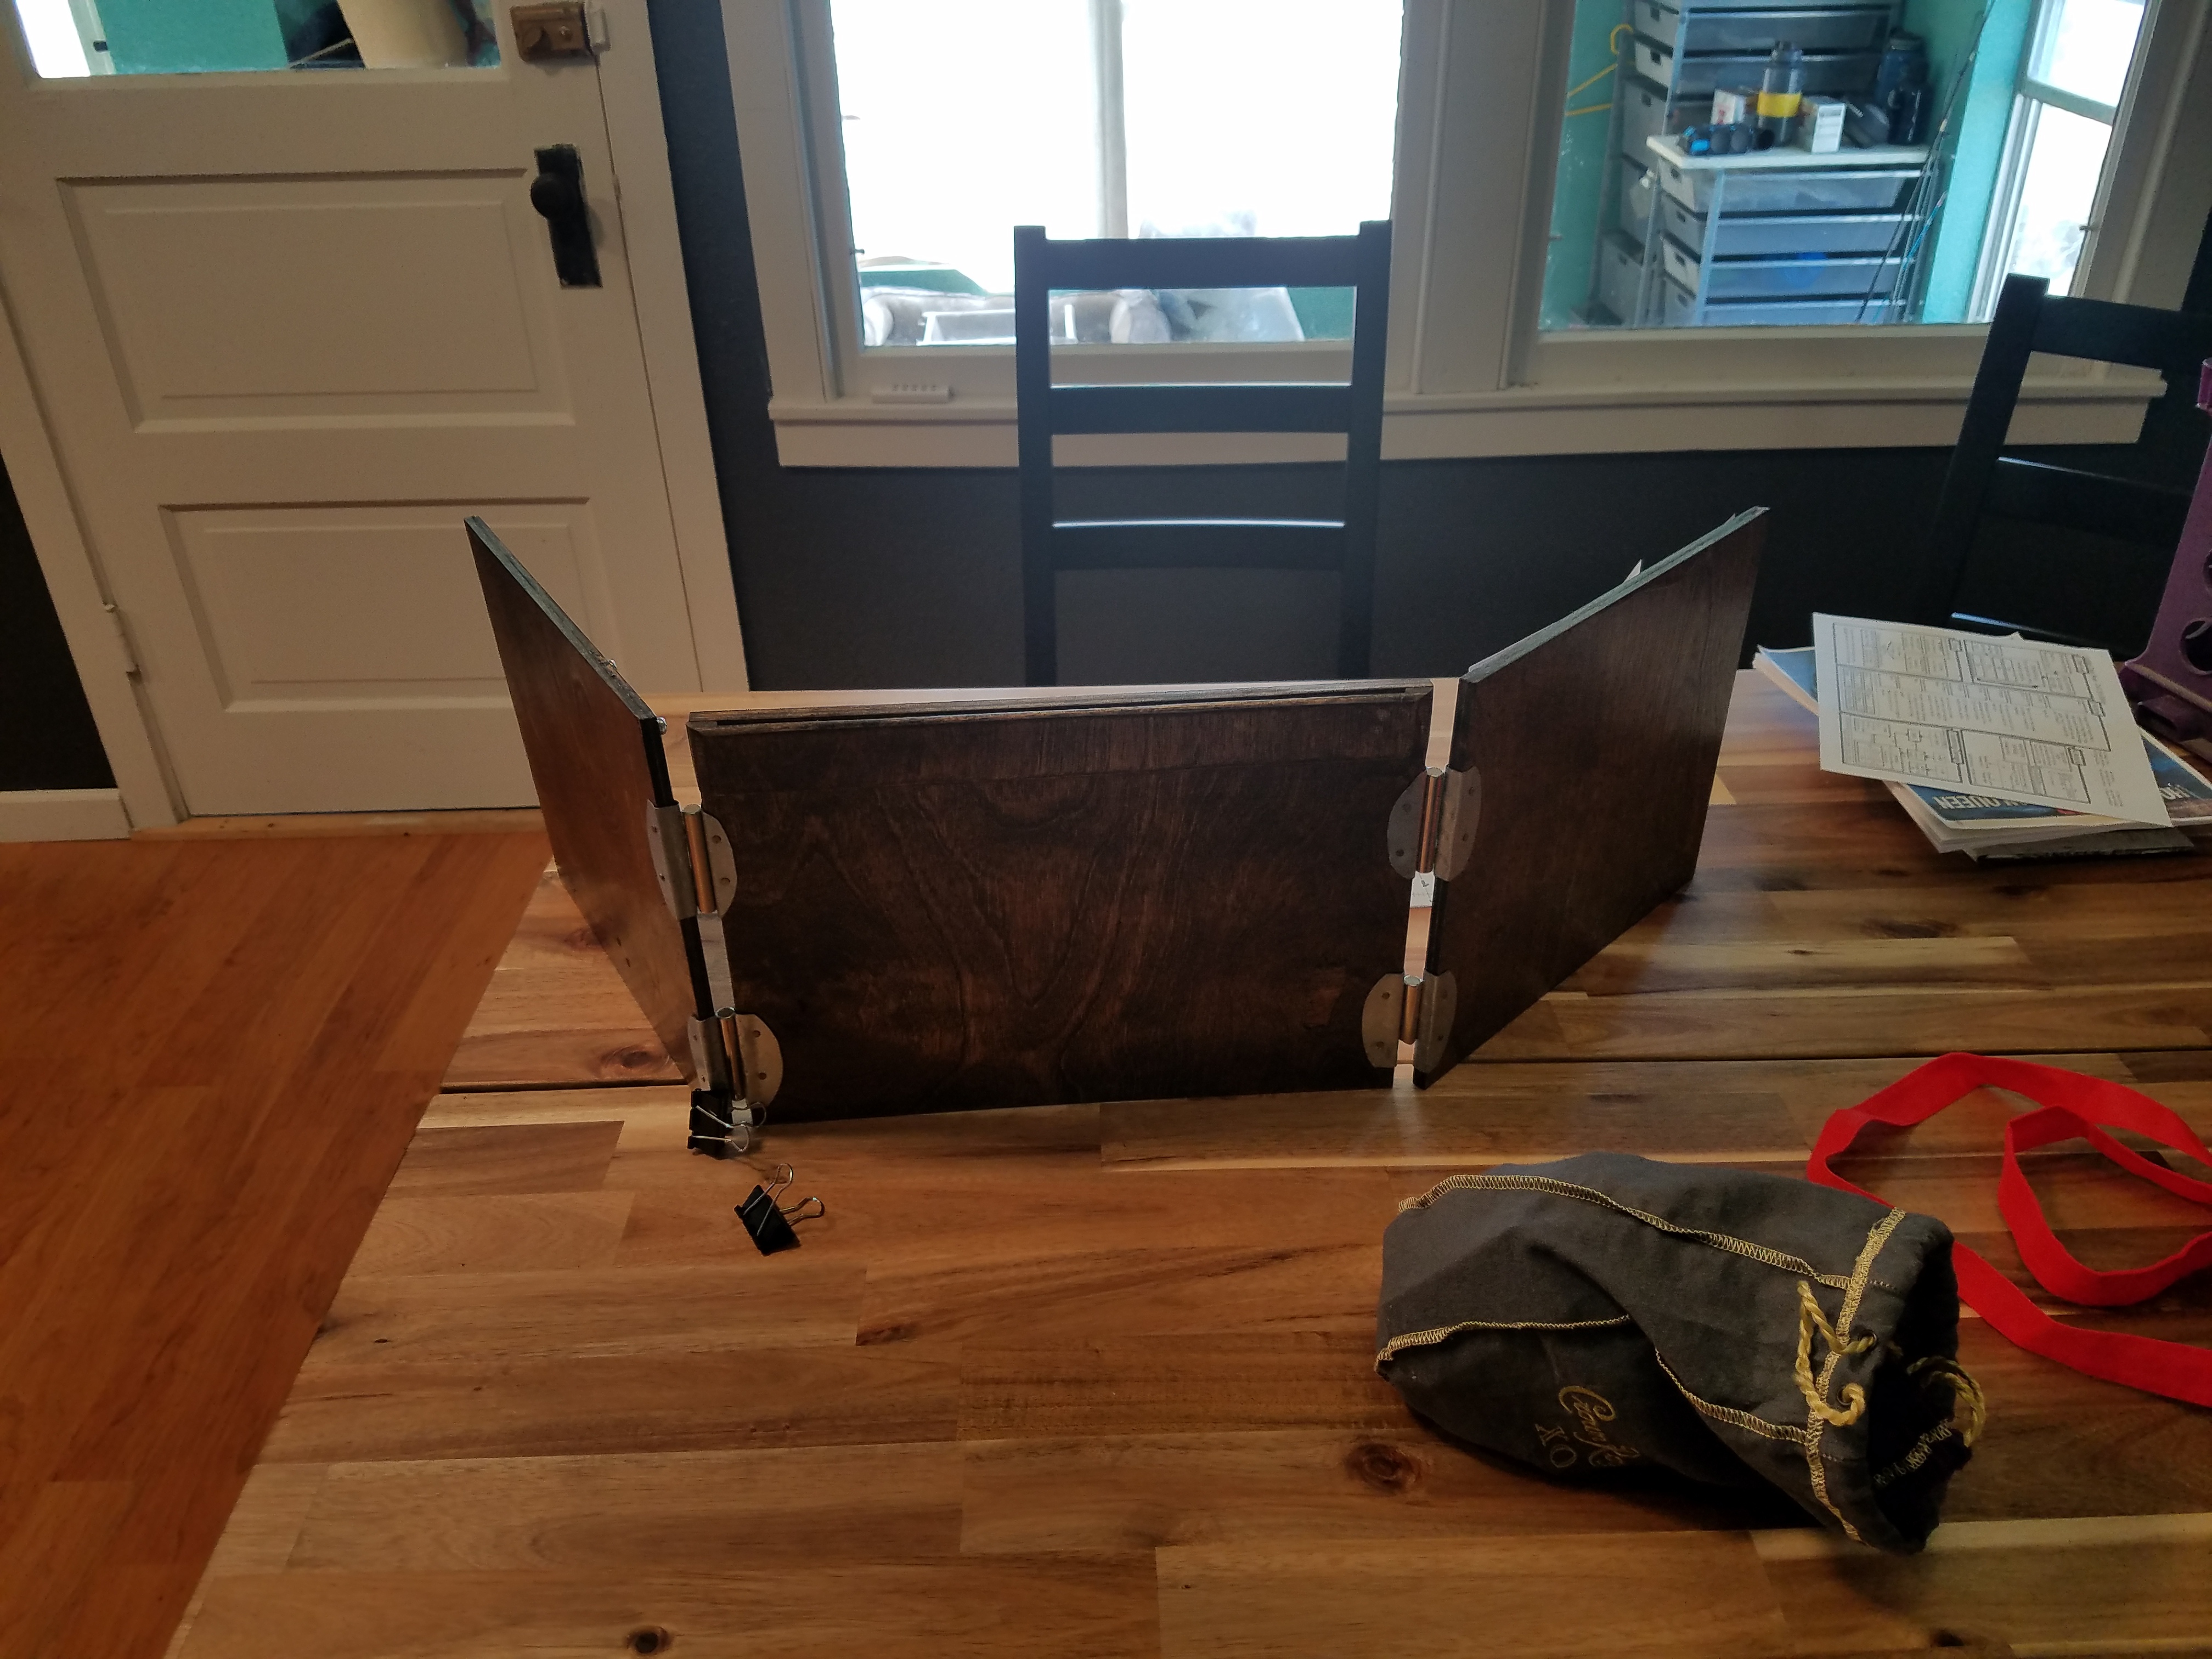

I really enjoy having the screen, especially to keep small notes available to remind me of details I tend to forget. For the most part it keeps me from saying “let me see the book”.
Paxx
#6
If your lesser half could provide some plans… perhaps we could replicate? Also, perhaps a bit more detail as to the notes you keep. For me it would be, names and those details I need to remember.
Moose
#7
Absolutely! I can include copies of some of my notes as well as the specs for the screen in a later reply. I noticed some typos as I looked over the PDF I want to fix and the plans for the screen weren’t written out because he was figuring it out as he went. I will include better pictures for the screen as well. Getting ready for work right now but wanted to reply that it’s coming!
Little background on our group (feel free to skip):
This is my first 5e campaign (I was playing 3.5e before because thats what I learned on) and my party consists of 2 total newbies and the other 2 with some experience from previous editions. We’re all learning 5e together and I’m taking them through portions of Hoard of the Dragon Queen. Why Hoard? If nothing else, because I want to work into Rise of Tiamat and have a real reason to buy and paint a Tiamat mini. Thats some quality home decor if you ask me. It is Dunegons AND Dragons after all.
Be back later with goodies!
Moose
#9
Part 1 - GM Screen specs
Materials Used
1/8 inch plywood (1/4 inch preferred)
Very thin sheet metal that was magnetic (tested at the store)
Fine gauge nails clipped to less than ¼ inch
Walnut wood stain
Super Glue
Wood glue
Polyurethane
Specs
2 – 12 inches x 10 inches panels (left and right side)
1 – 14 inches x10 inches panel (middle)
2 – 1 ½ inches wide strip of thin sheet metal cut to 10 inches long for left and right panel
1 – 2 ½ inches wide strip of thin sheet metal cut to ~14 ½ inches
6 – 2 ¾ inches wide x 2 ½ inches tall piece of sheet metal for magnet hinges
Notes
I’m not going to describe how this was built step by step. It is pretty straight forward wood working with a few aspects of the project to be clarified:
The plywood was cut down to size and we ended up doubling the 1/8 inch plywood.
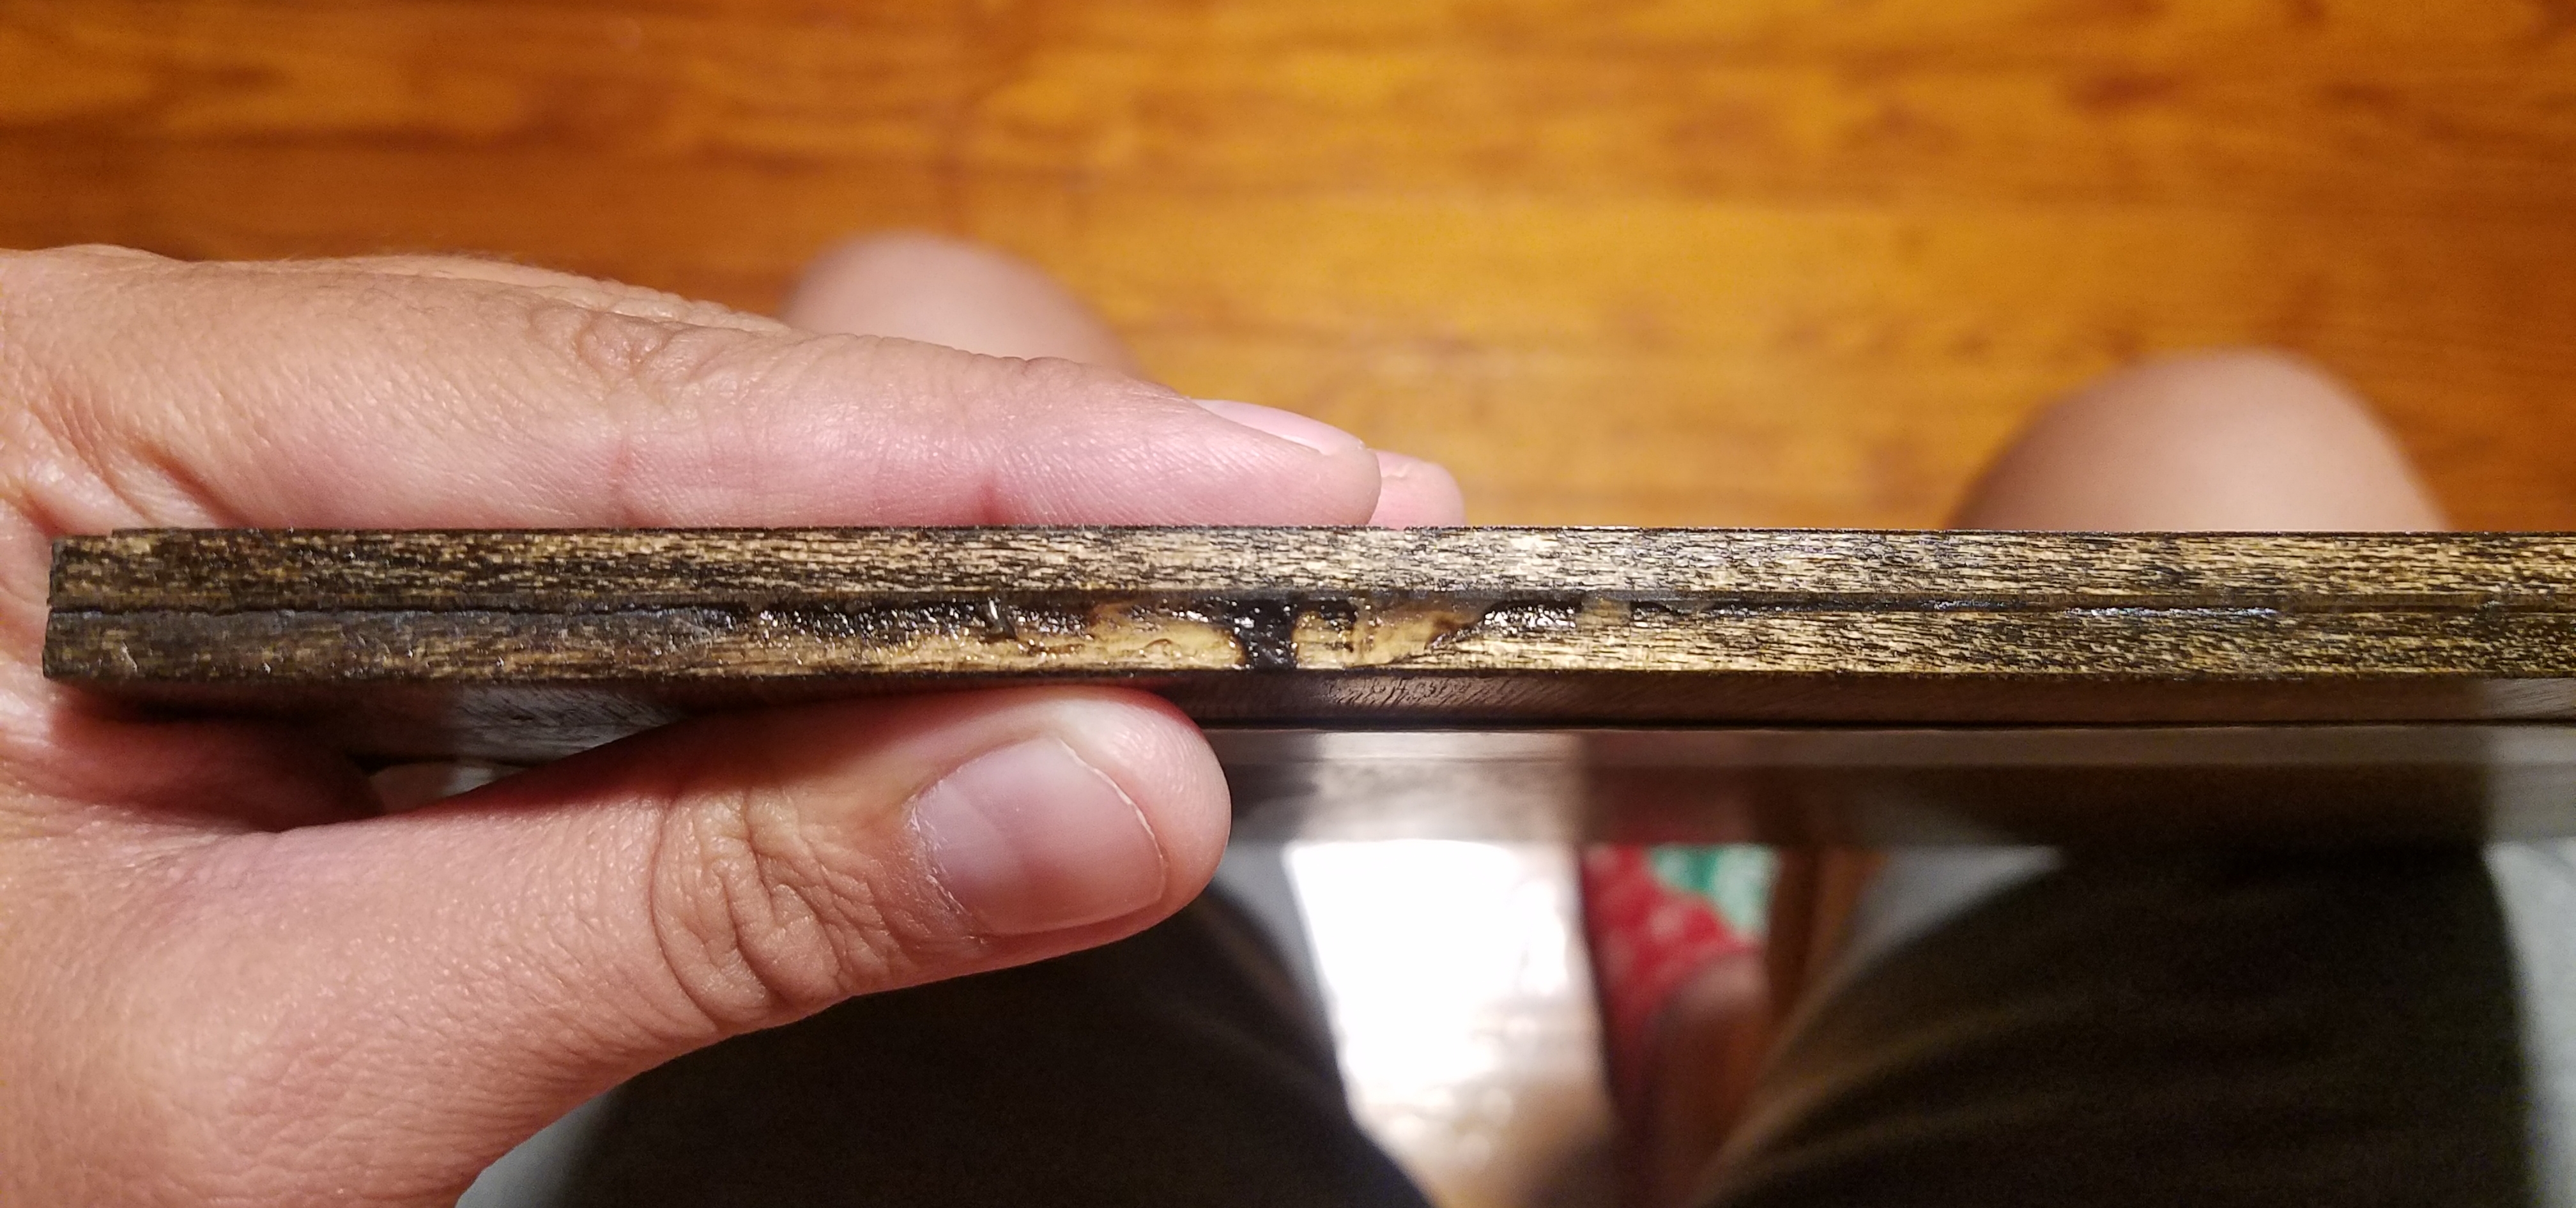
Photo of the two 1/8 inch panels glued together
We already had the 1/8 inch laying around from an earlier house project so he made the best of it. ¼ inch is the way to go for this build. He glued the front and back panels together with wood glue, clamped them together, and let them set overnight.
The outside of the middle panel (the side the players can see) he added a small shelf so that we could put initiative trackers in it.

Small shelf/slot for initiative trackers
It was made by gluing 2 small strips of 1/8 inch plywood on either end to act as spacers. Then a 1 ½ inch cut to span the length so that it formed a small pocket. Paint stirrers fit perfectly into these slots.

Upclose of the slot/shelf construction
The whole thing was stained and sealed with poly before attaching the metal pieces.
The hinge mechanism consists of bending and nailing the 6 square(ish) pieces of cut sheet metal. The left and right panel has 2 of these hinges attached to the appropriate edge. He hated this part because he has never really added metal work to his woodworking projects and found the process of bending the metal into the taco shape to curl around the edge of the panel to be difficult and tedious. These were attached to the panels by clipping the fine gauge nails to less than ¼” in length so that they don’t go through the wood. The middle panel only has 2 of these taco clip style hinges on the bottom. The hinges were pre-drilled to be able to drive the nails through.

two hinges

Attempt to show the U bend in the sheet metal to form hinge
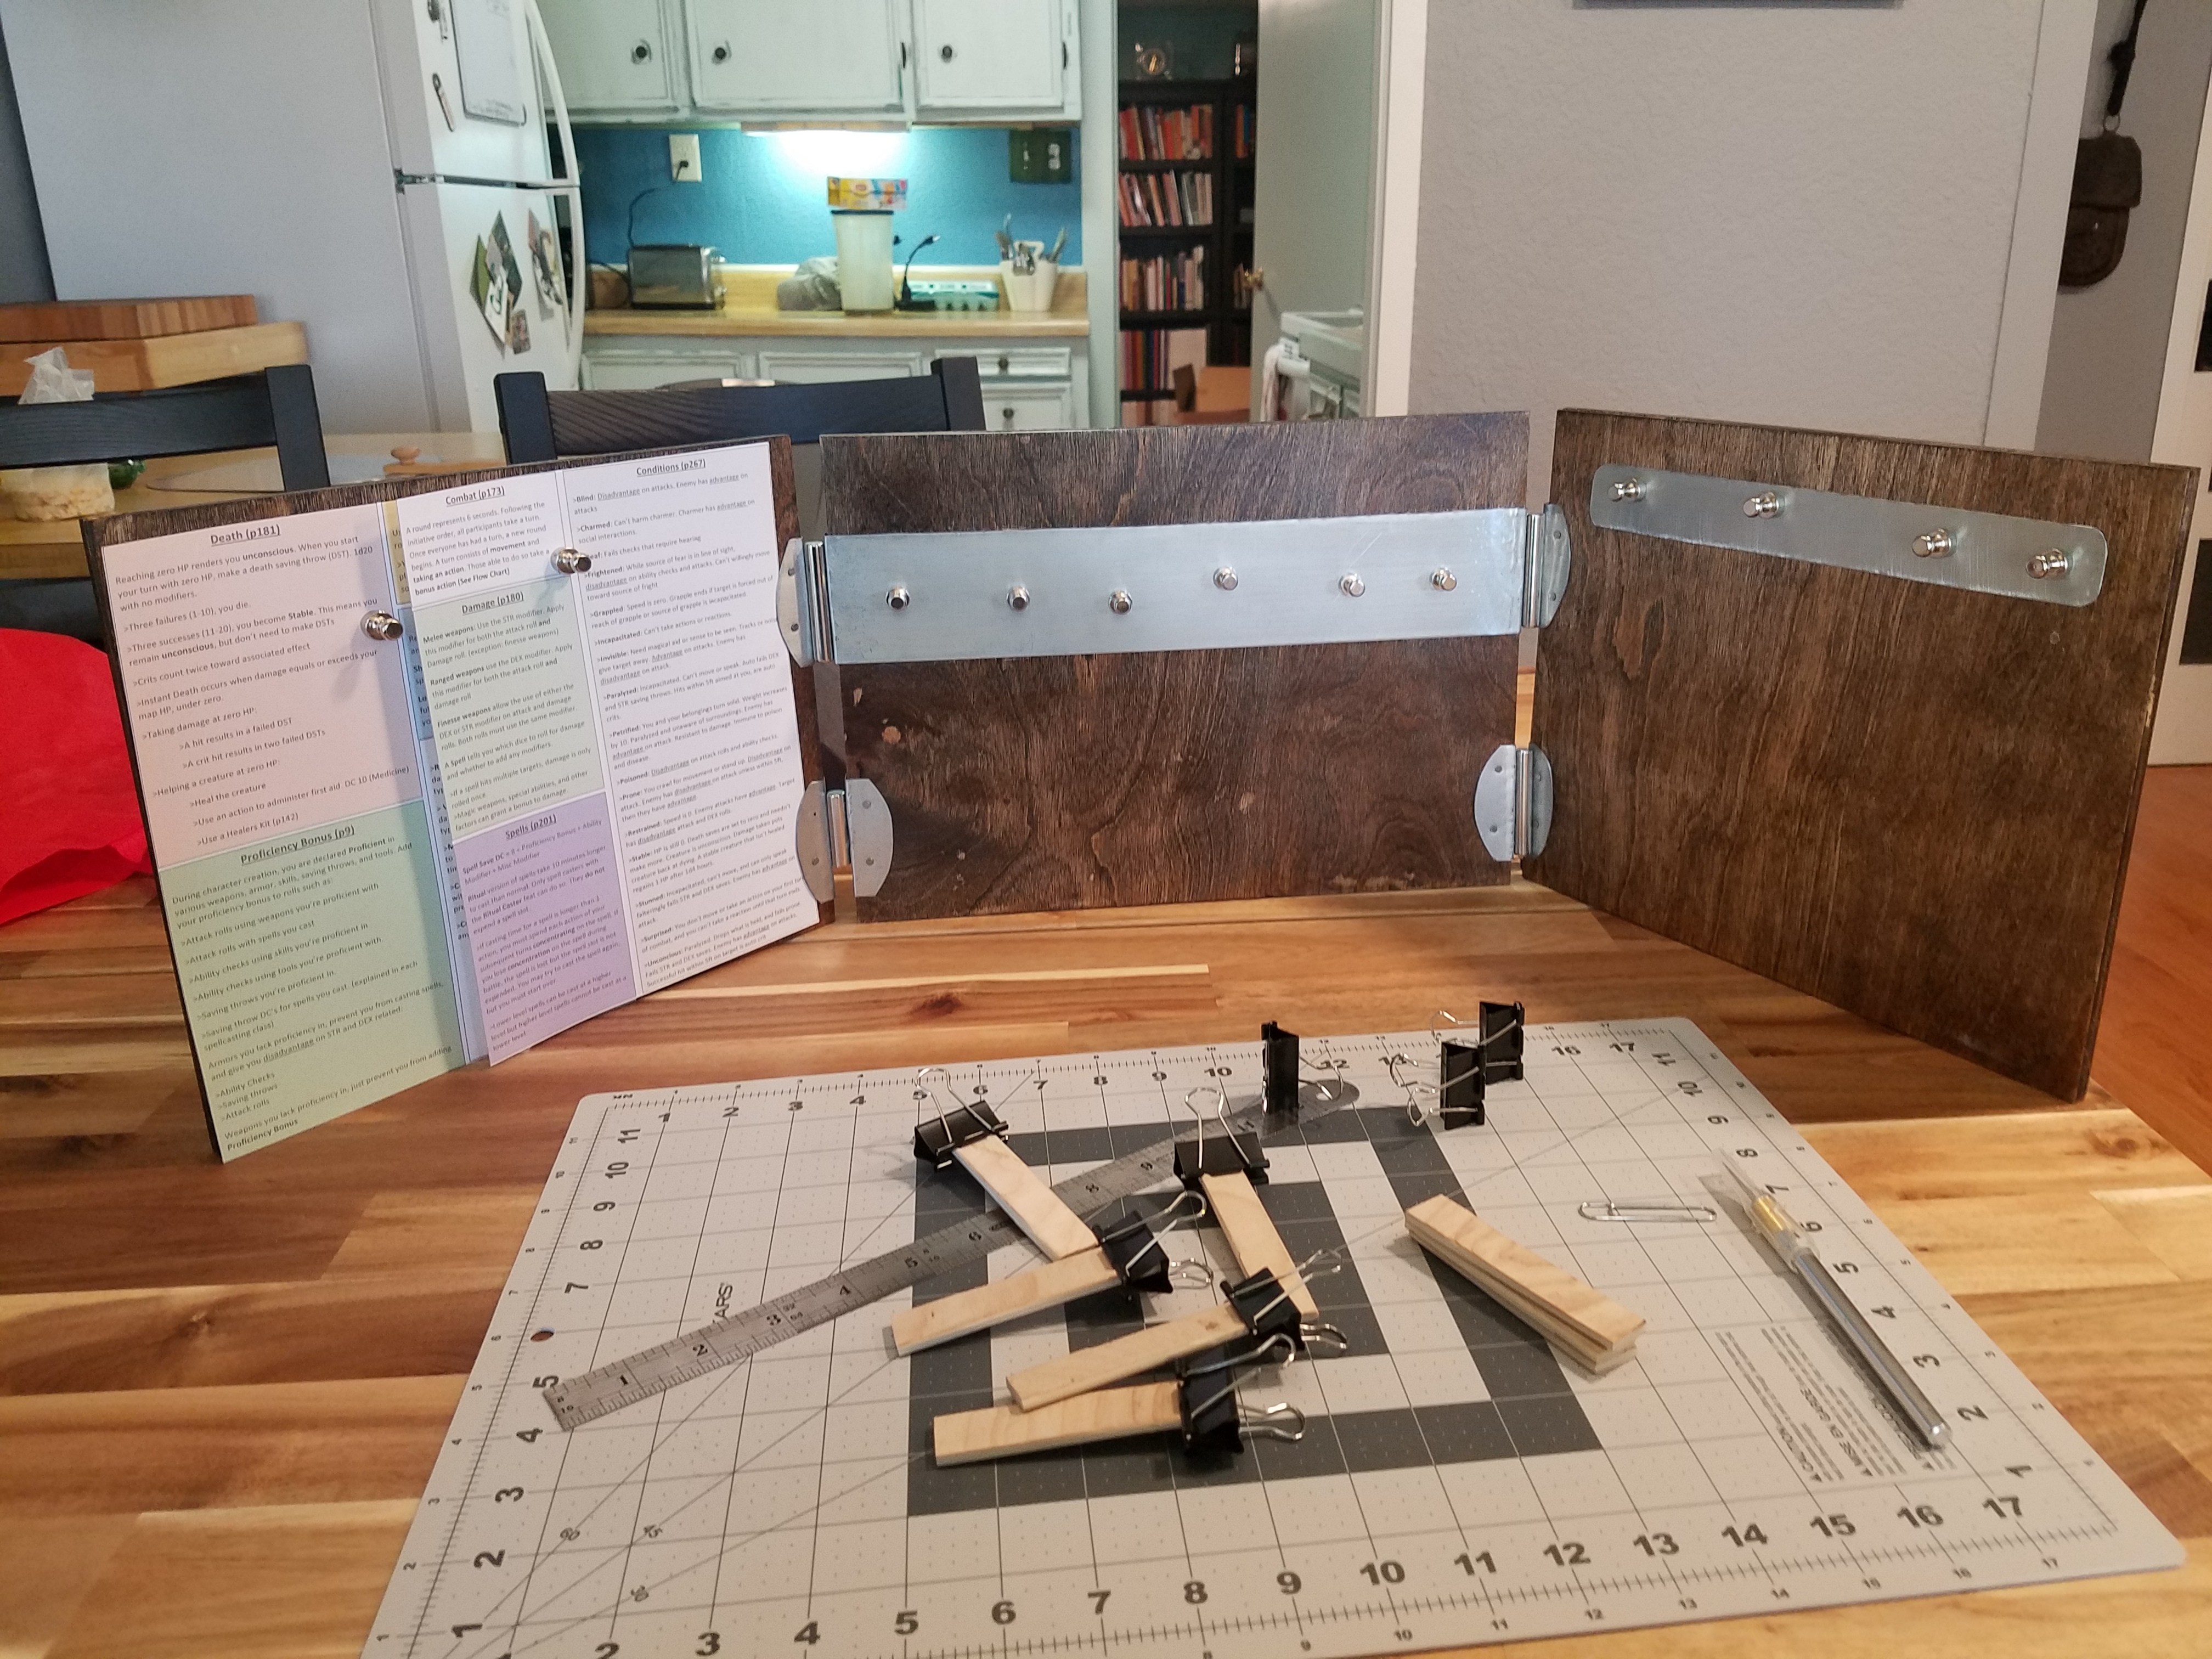
The left and right panel also have a thin 1 ½ inch strip of sheet metal cut to 10 inches to be a magnet board for me to attach notes. The middle panel has a much wider strip for the same purpose with the additional feature of being larger than the panel on both sides, curling around the edges and doubling up as the hinge.
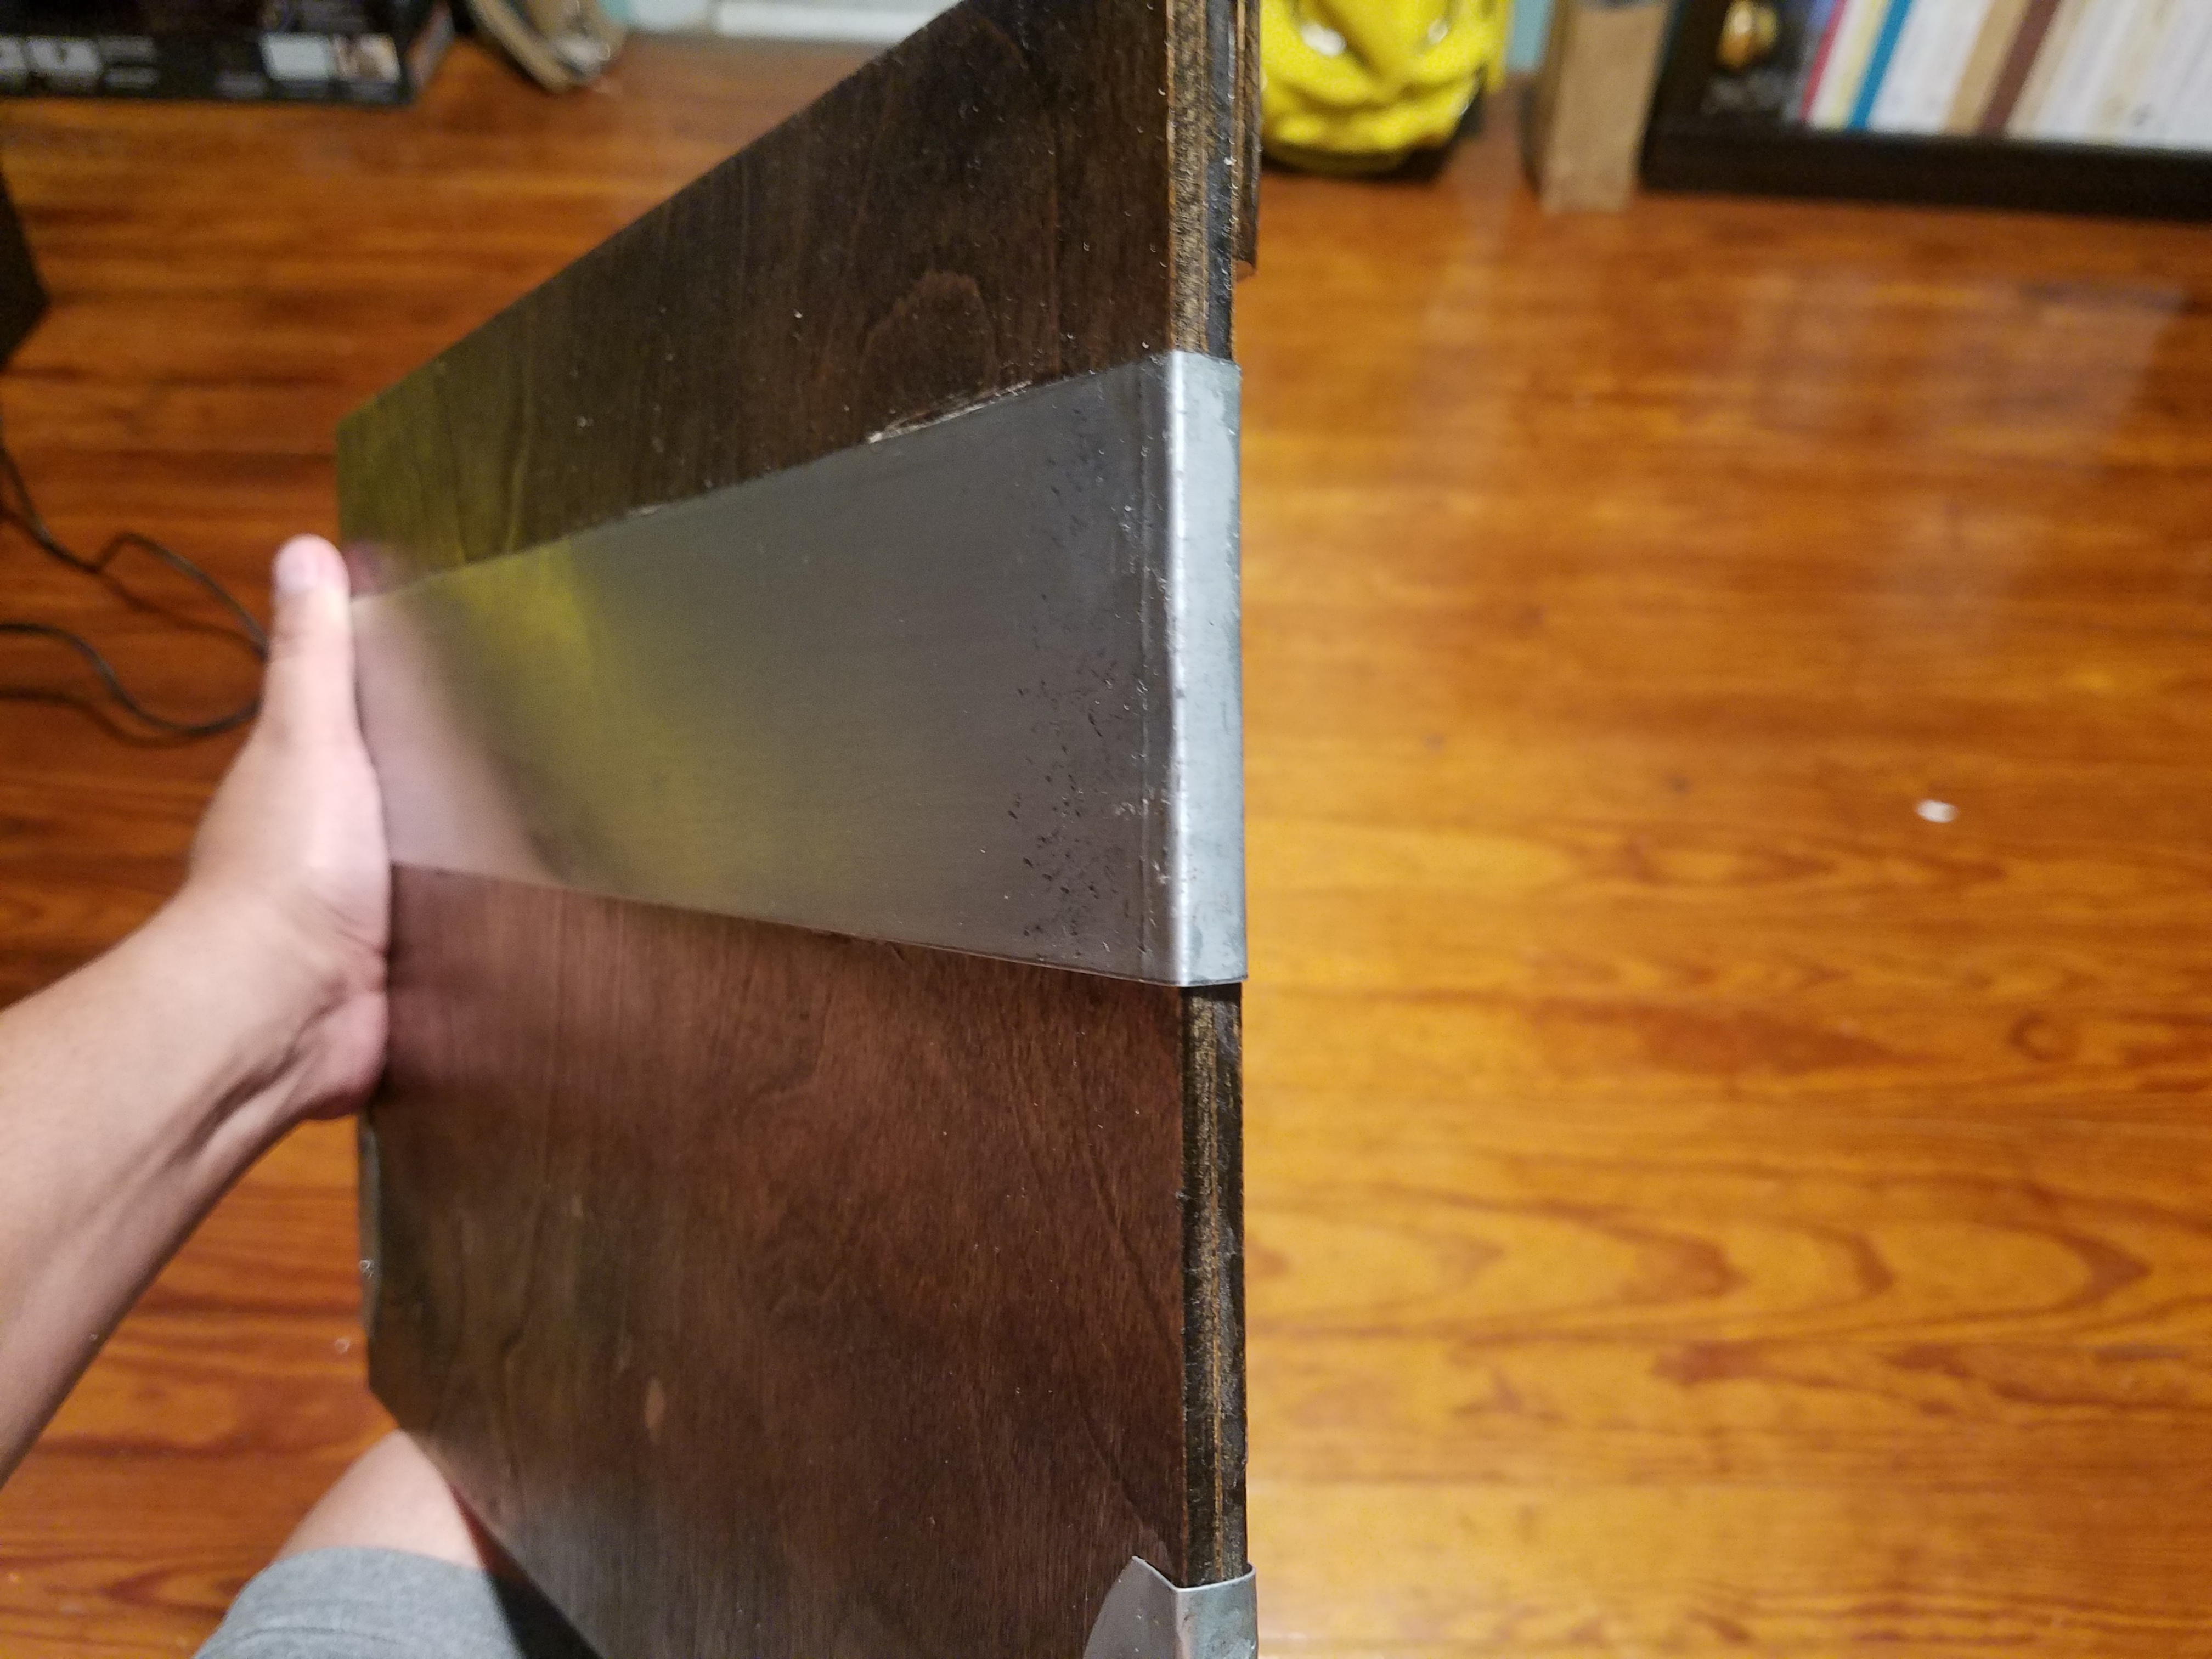
Wide sheet metal curled around edge to double as hinge
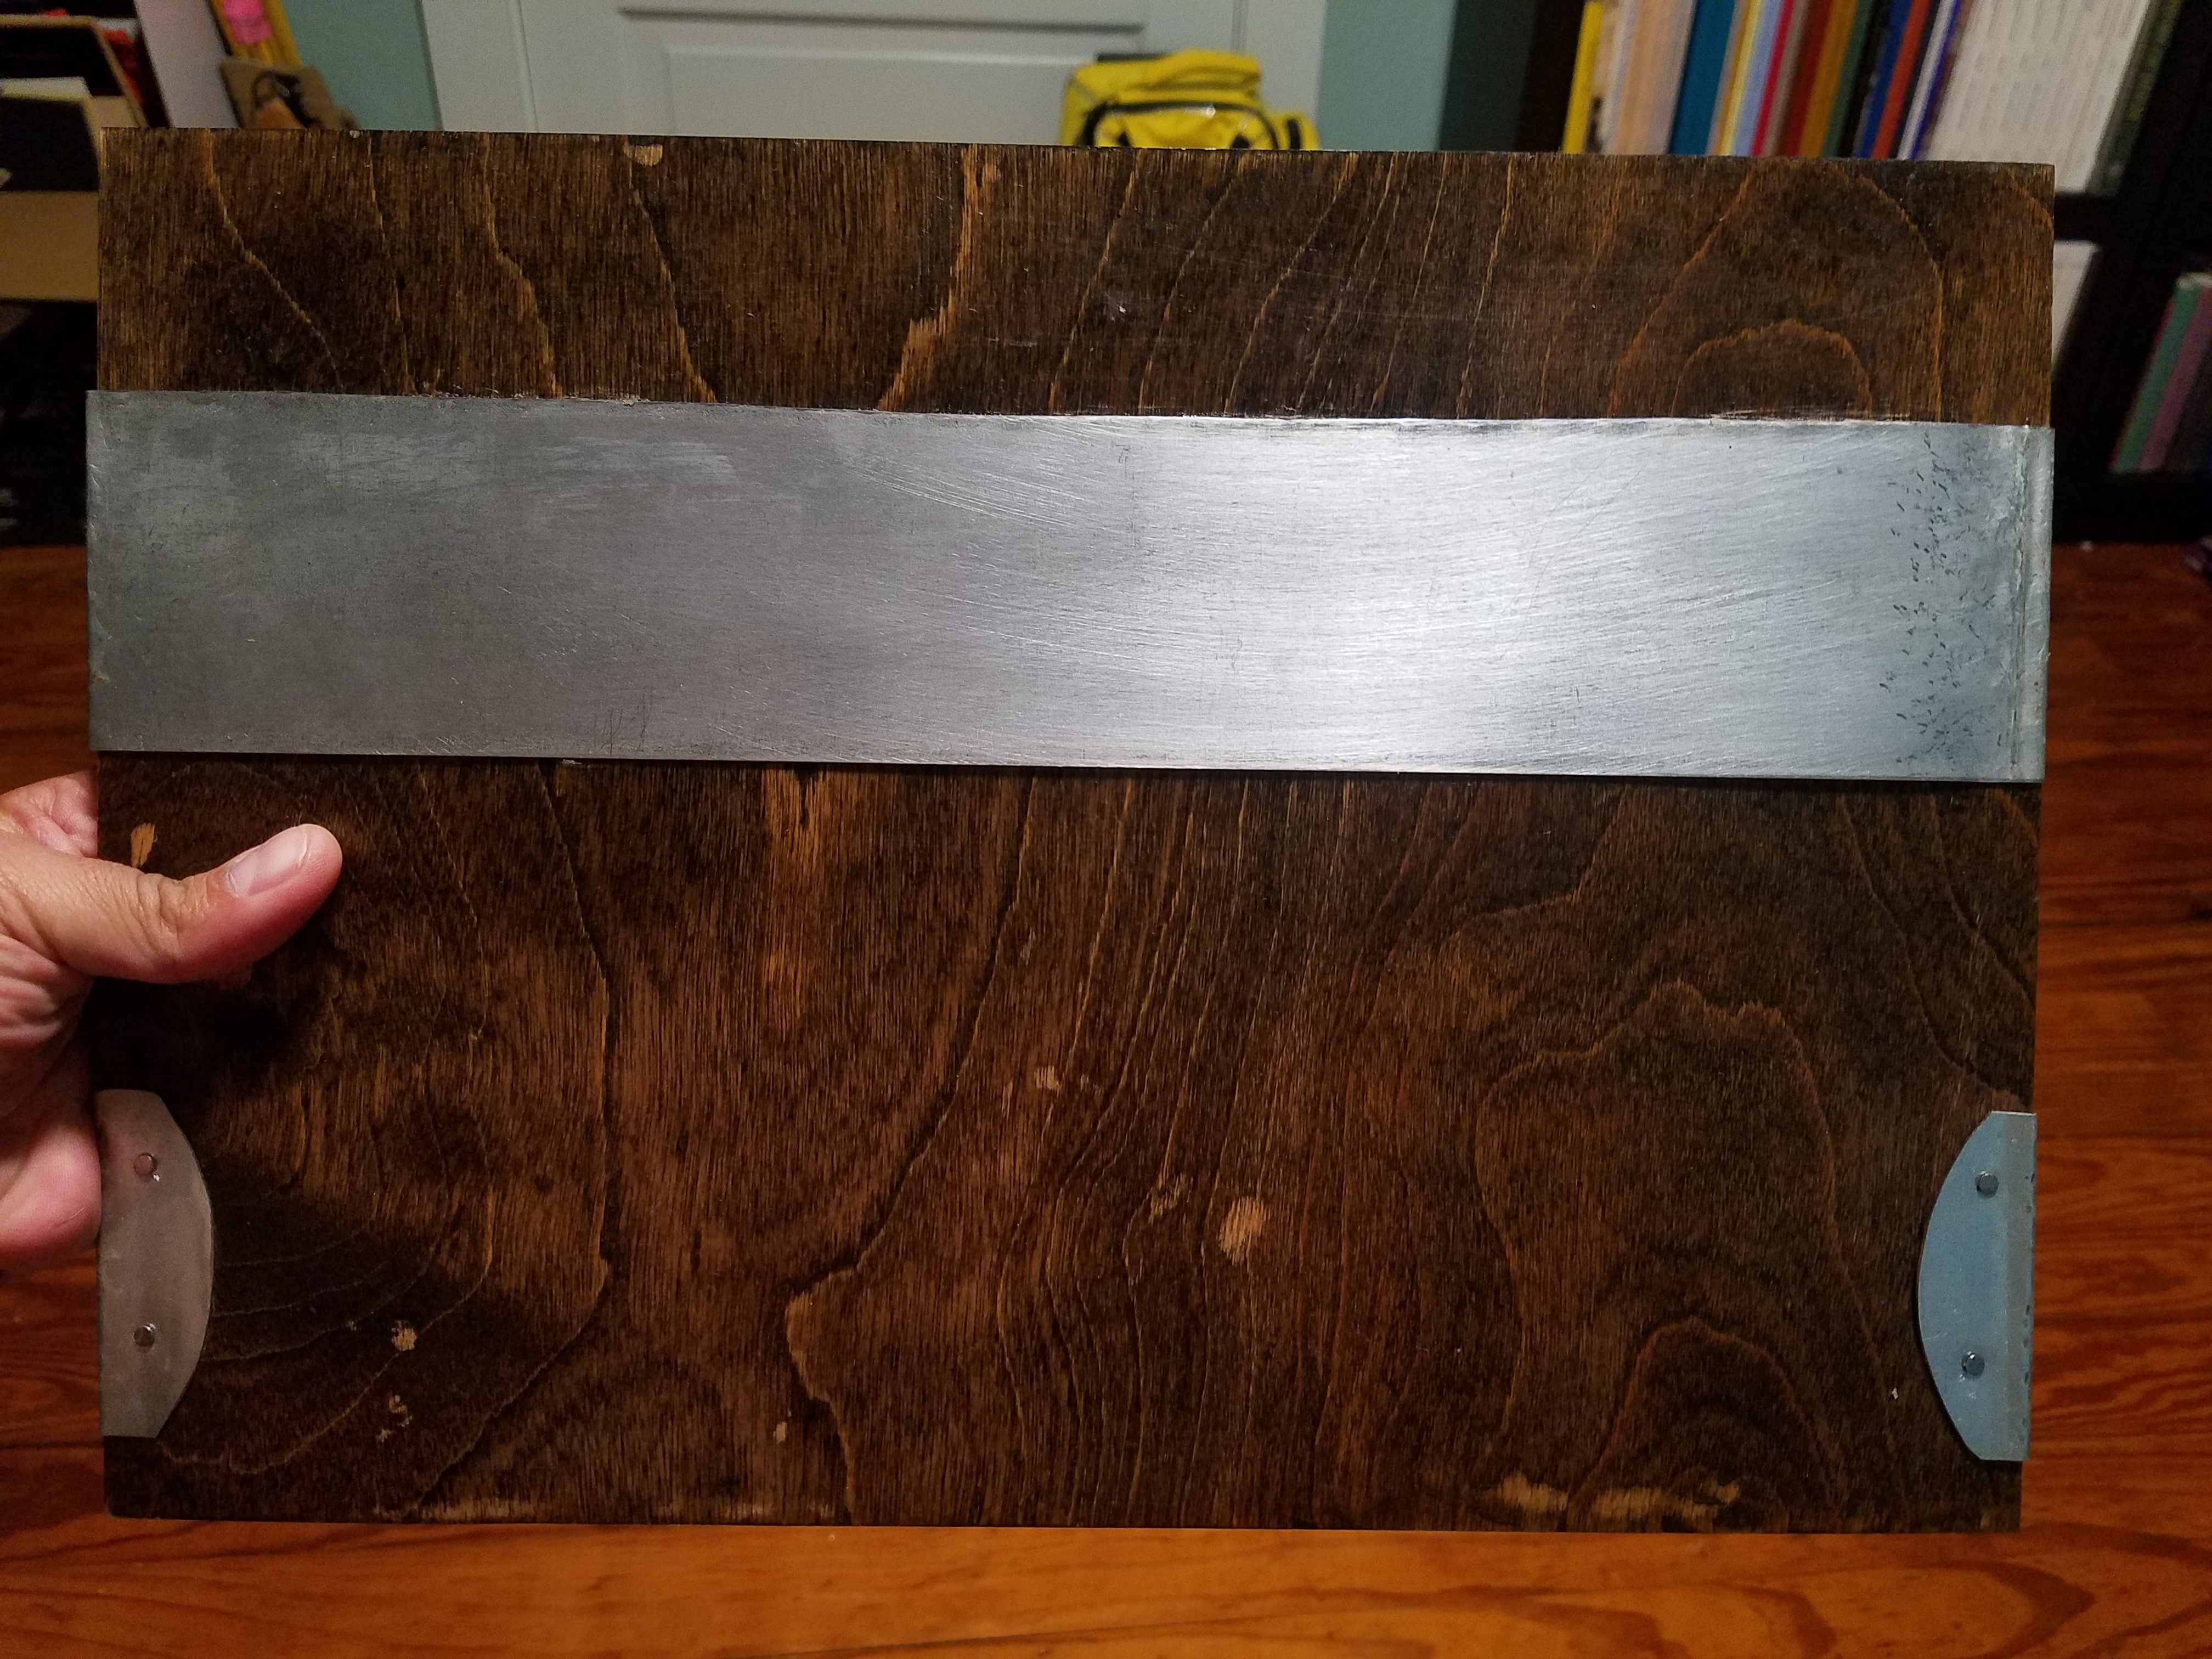
Head on shot of the middle panel
These strips were attached to the panels using super glue. He would’ve preferred to have used epoxy but we didn’t have any on hand.
These magnets we found on amazon and are CRAZY strong. Neodymium cylinder magnets
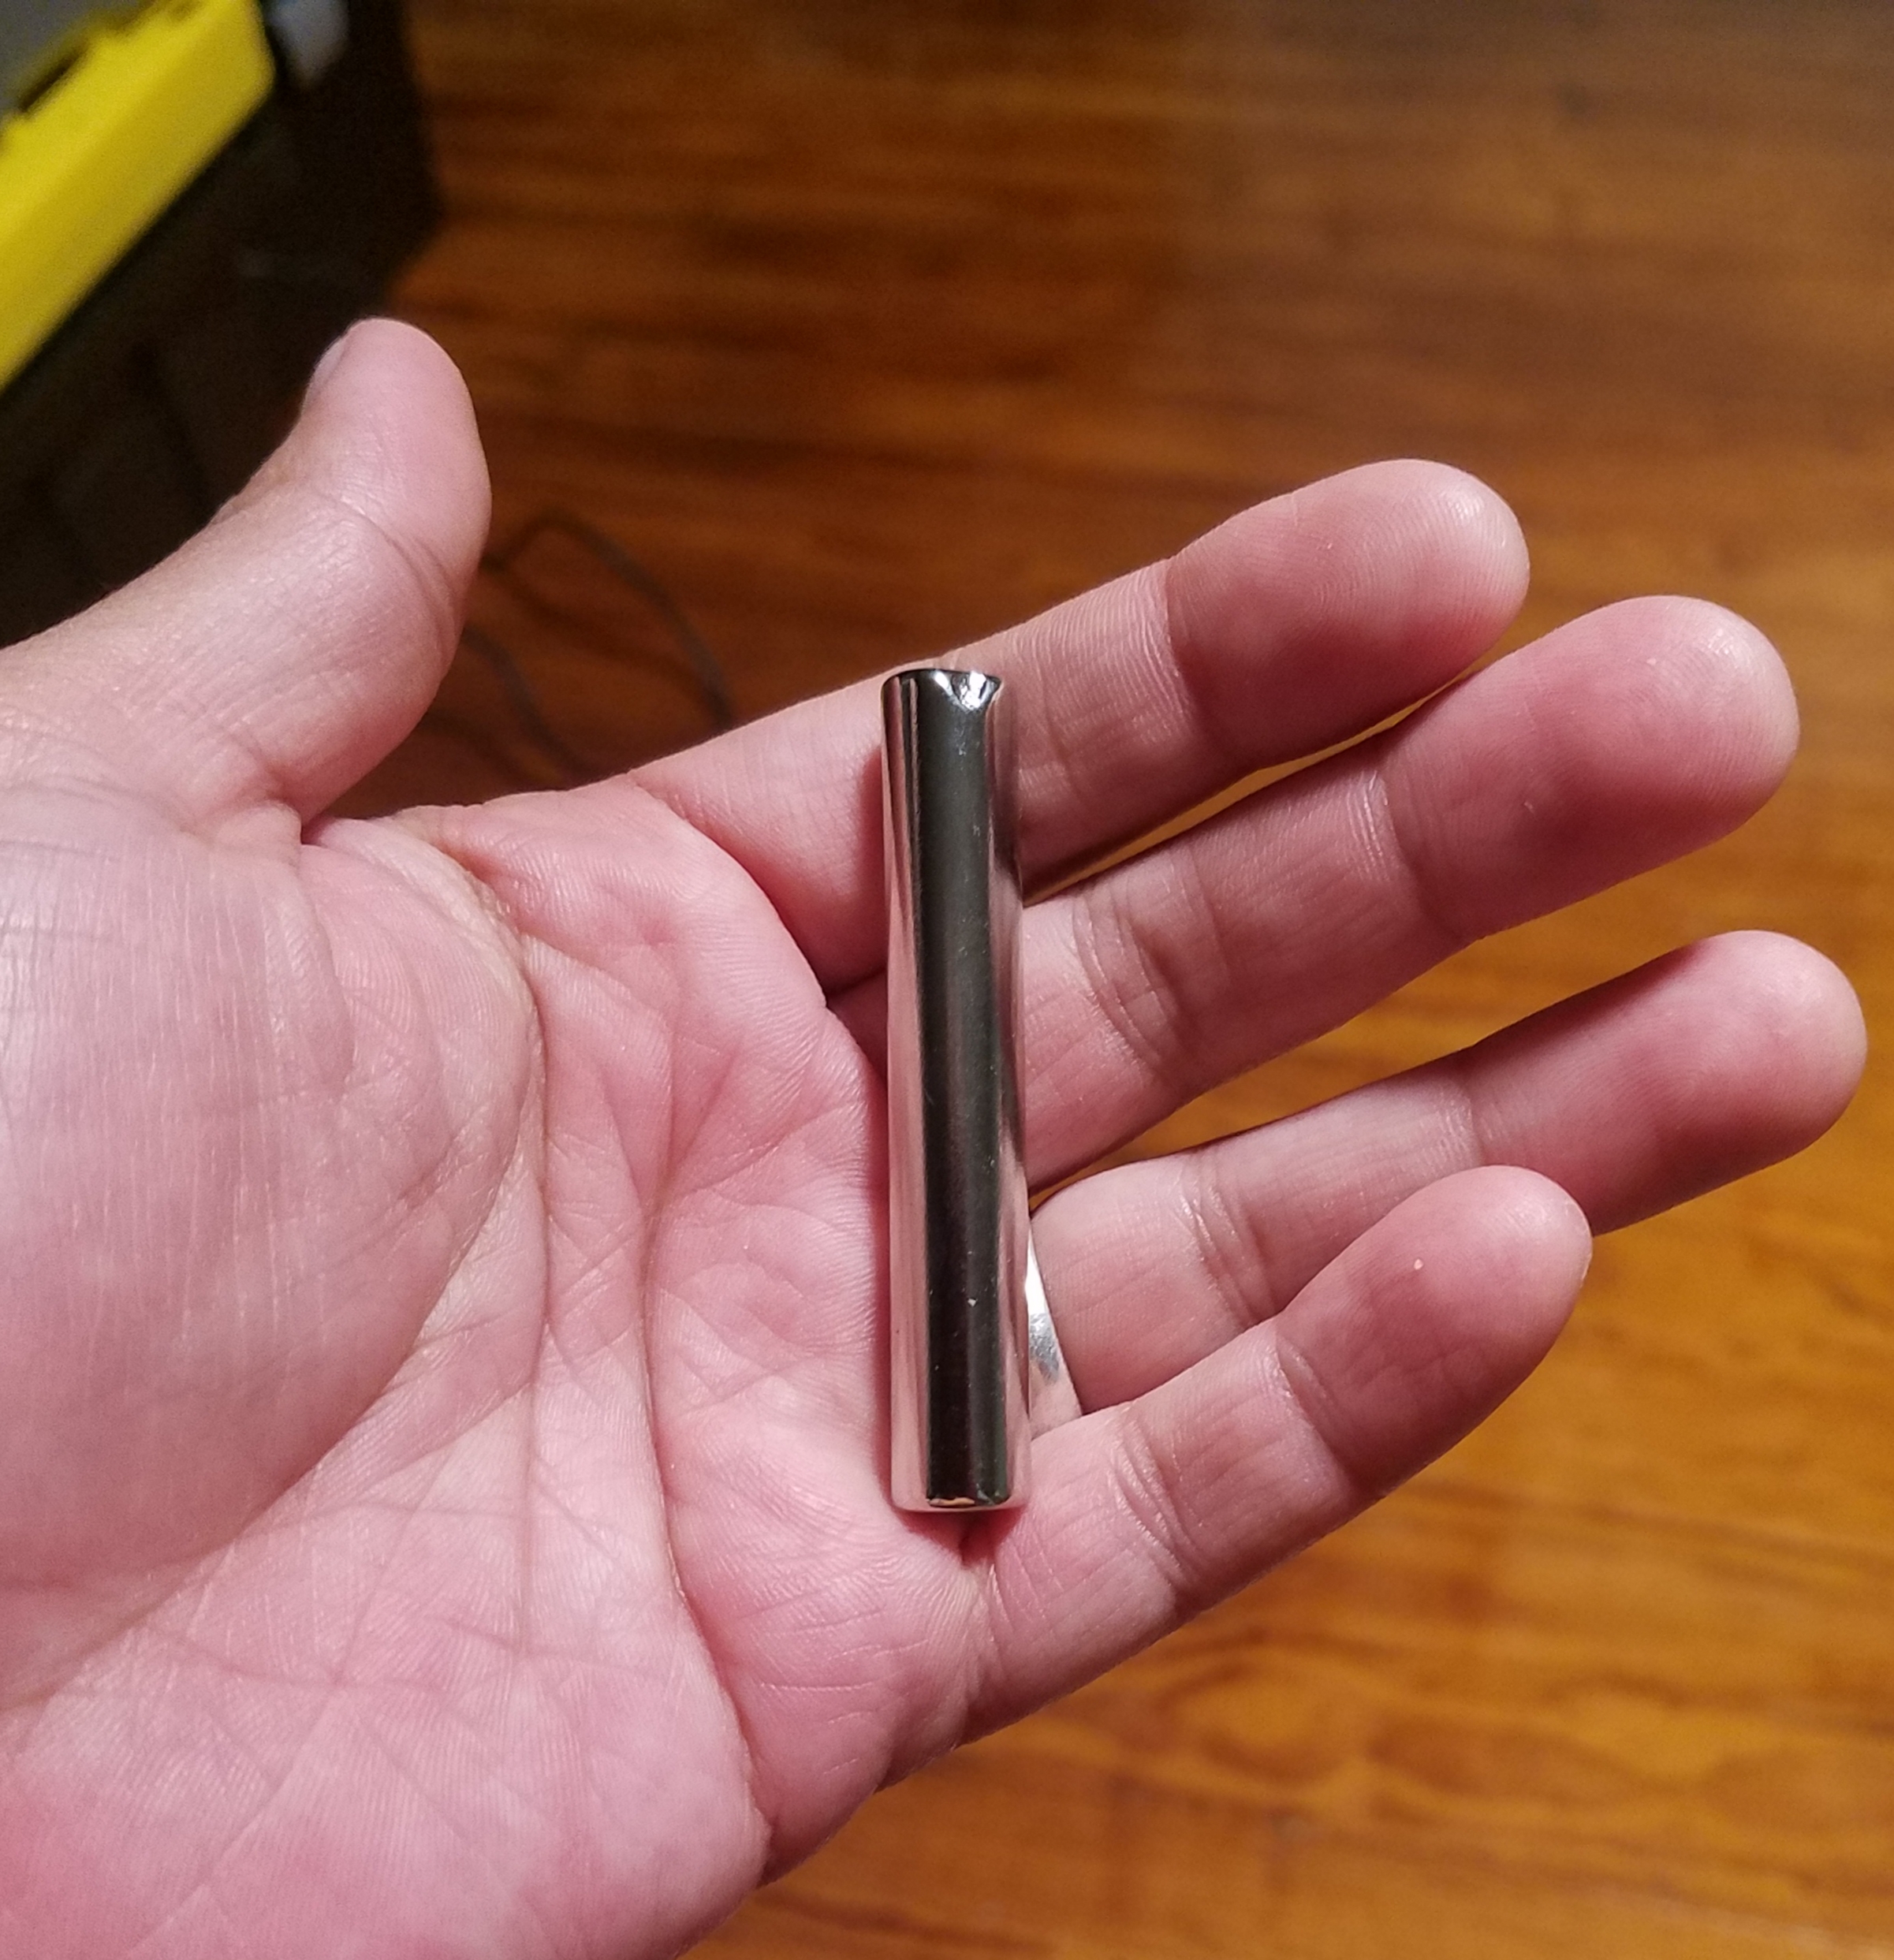
Having the magnets as the hinges helps to combat the issue of figuring out how to get a 3 panel screen to fold down flat. Otherwise, it is a bit complicated to get this to work. Other work around woulds be to create a 4 panel screen (think Matt Mercer’s screen).
Moose
#10
Part 2 - Notes I display
Player Cheat Sheet
I made these cheat sheets since we are all relatively new to 5e, I wanted to provide some quick, concise notes on rules I felt would come up the most.
“How Turns Work” - got it off Reddit
The how turns work sheet is a bit chaotic and i’ll probably end up replacing it because I like it less and less over time. Regardless, I wanted to have these sheets easy to reference because it is what I gave the players. I keep these on the left and right panel of my screen. The middle is where I display some hand written notes I made. Some are from my older 3.5e screen and I just haven’t gotten around to typing them up into a sheet to better utilize this space. I will also place any monster stats i’m using to quickly reference during combat.
Depending on my mood, i’ll make monster cheat sheets on index cards for quick reference while I go through my session prep. it is a bit tedious but I like it because I can quickly reference what I need without having to have the monster manual open. I just choose the monster and stick it on my screen for the night’s session.
Other notes I keep are how concentration checks work, how to calculate spell saves, general DC thresholds (10 is easy, 15 is moderate, etc), character ACs and passive perceptions. I tend to treat my middle screen more as my combat focused area while the outer screens are rule driven. The magnets really make it nice because I can continuously adjust what I need based on my players needs.
The screen helps to hide my game prep notes and any timers I may decide to run to add a sense of urgency. I don’t like to announce i’m running a timer because this seems to elicit more of a negative response from the group. Instead, I just run one and have things begin to happen and it naturally ramps up the tension. Also, it protects my beverage from flailing arms, haha!
hope this helps!
Paxx
#11
Thank you Sooooo much for that write-up Moose.
Very well done and totally understandable.
Note about timers, in public they help to add urgency. keeping some for yourself is fine, just as remainders works well.
But when pulling off a Mines of Moira scenario (many weak things coming to attack, it gives the understanding of when the next wave is coming, or when the police car will arrive… ‘in the distance you hear the sounds of sirens, 8 on the timer.’
Or the Ritual is gaining in pitch and near it’s climax, reality seems to be vibrating around you…D4
But if it is just a collective groan from your party, back off except when of use to them is of benefit to the players. D6 rounds on that Fuse, D20 till the first rays of sunlight break the horizon.
Ultimately, the timer is just a timer, it should’t always be bad, just most of the time.
Moose
#12
Before I forget here is a link to the magnetic push pins I use
Honestly they’re way stronger than necessary but they are handy.
I should’ve used a different word instead of “timer”. My party can burn time whenever they are discussing a plan of action. In most cases this works to my advantage because I can get up and get snacks, beer, or take a bathroom break (no one there is the kind of player to peek behind the screen when I’m gone and its sooo nice). But sometimes they drag on and it eats into our game time so I started timing their debates. After a certain point, I’ll start narrating and this really puts the pressure on. Before when I told my group “you have X amount of time to decide” it just didnt give them quite the impact I was looking for. At least for my D&D group.
It also could’ve just been an issue with me and how I may have worded it to them. I try to get better with each game so your tips are appreciated! I’ll give it a shot in our next game.
Glad my write ups were understandable and anyone is welcome to message me for any clarification.